

*Listed are the materials to make angels. The amount of materials needed will depend on the length of your childs name. The materials can be found at Wal-Mart, Michael Stores, and/or Hobby Lobby.
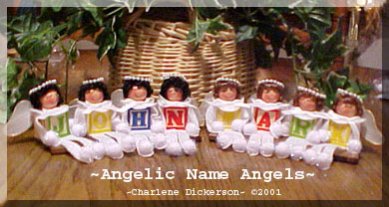
Directions for Making Angels
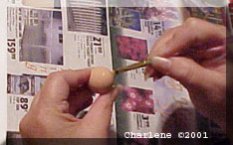
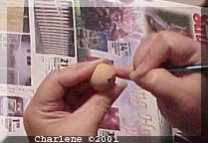
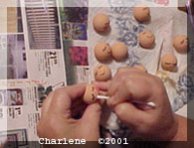
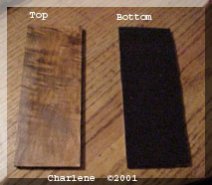 First you need to assemble all your materials. Prepare your work place. Using the walnut stain and the sponge cover the entire slat or slats depending on how many you make. After this dries be sure and add a coat of varnish. While those dry paint all your angel heads flesh. Draw eyes with the liner brush and black. Cheeks are added with a q-tip and red or pink chalk. While these are drying cut out your angel collars, arms and legs from the felt. Make one small white bow for each angel. After heads are dry spray with a clear spray to make shiny and protect paint. Allow this to dry. Glue felt to the back of slats. (optional)
*Note: the slats are only for short names, names with 4 letters or less. If the name is longer just leave your blocks loose and sit on shelf. You may not want to glue your angel to the wooden slat so you can move them and arrange any way you like. This part is up to you.*
*For patterns needed to cut white felt collar, arms and legs.. Use small circle for the collar and measurements mentioned for arms and legs. Using a ruler make yourself a pattern to go by.
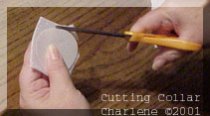
Cutting Collar: You need a small circle that just sits on top of the block. One is needed for each angel.
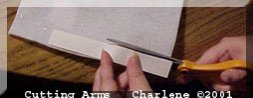
Cutting Arms: The length of your arm needs to be 4 inches long and an inch wide or close to it. Round off the edges of the arms.
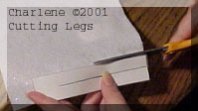
Cutting Legs: The length needs to be 4 inches long and the width of your square. You will then cut down the middle of this piece of square to separate the legs leaving the end uncut for the block to sit on. Round of the very ends of your legs.
Assembling Your Angel
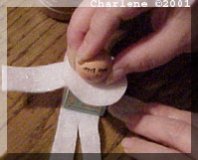
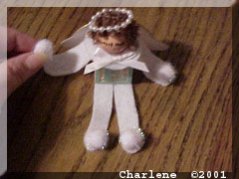
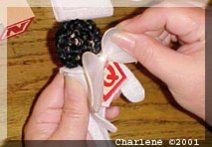
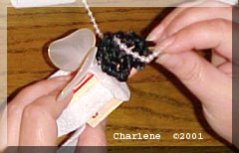
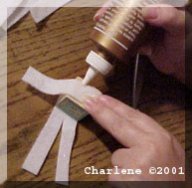 Using hot glue or tacky (I prefer hot glue as it holds right then). Glue your block to the leg piece you cut. Make sure your letter is right side up. Then glue your arms over the top of your square, be sure and center your arms to hang evenly. You will then glue the collar over the arms and the head to the center of the collar. Next add the hair to the top of the angels head and using the string of pearls make her halo. Glue a small white bow to the front of the collar. Now you need to glue a small pompom to each hand and each foot. Glue the wings to the back of the block being sure to center them. You have an angel. Do this for each letter in your childs name.
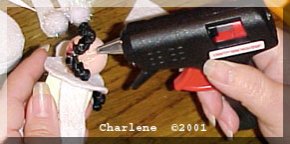
Finishing
After you have made all your angels place them attractively on the slat you prepared after it has dried completely. Take your time try out different ways of arranging them and when you are satisfied glue them onto the slat with hot glue.
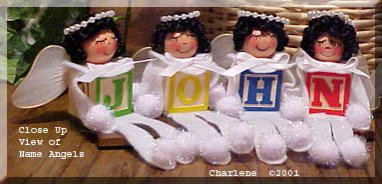
*Note: If at any time you get confused as how to assemble, paint or finish your name angels please refer to the photos. You may also contact me at any time for help or advice.


|
Copyright ©2000-2009 Marvel Creations. All Rights Reserved. All matching images and content of this website are © Marvel Creations and may not be reproduced. This web site was created and designed by Marvel Creations 2000-2009 which began May 29, 1996. These graphics are for the "exclusive" use of My Parents Are Survivors. Please do not take! Thank you!
|